Curly and wavy fibers shrink by 25 to 60 percent as hydrogen bonds reform during drying, so cutting under heavy comb tension produces uneven ledges once the helix springs back. Replacing surface layering or notched thinning shears with internal channel slicing along natural curl groupings preserves cuticle edge integrity while letting adjacent coils nest smoothly without triangular pyramid bulk.
1. Follicle Ellipticity and Helical Spring-Back Mechanics
Straight hair grows from an almost circular dermal papilla and exhibits uniform ortho-cortex and para-cortex distribution around the shaft perimeter. Textured waves (Type 2A to 2C), spiral curls (Type 3A to 3C), and tight coils (Type 4A to 4C) emerge from progressively flattened, elliptical follicles. Inside the curved shaft, asymmetric ortho-cortical and para-cortical cells contract at unequal rates as moisture exits, generating a three-dimensional helix whose pitch and diameter vary from crown to nape.
Standard geometric precision cutting relies on pulling hair taut between the index and middle fingers at 0, 45, or 90 degrees of elevation relative to the parietal ridge. While that tension yields crisp graphic lines on Type 1 straight hair, applying identical finger tension to Type 3B spirals stretches the helix near its elastic yield limit. When the hair dries and water-plasticized hydrogen bonds snap back into their helical memory, a section cut cleanly while wet can retract unevenly by three to five centimeters, breaking perimeter balance and exposing unintended weight lines.
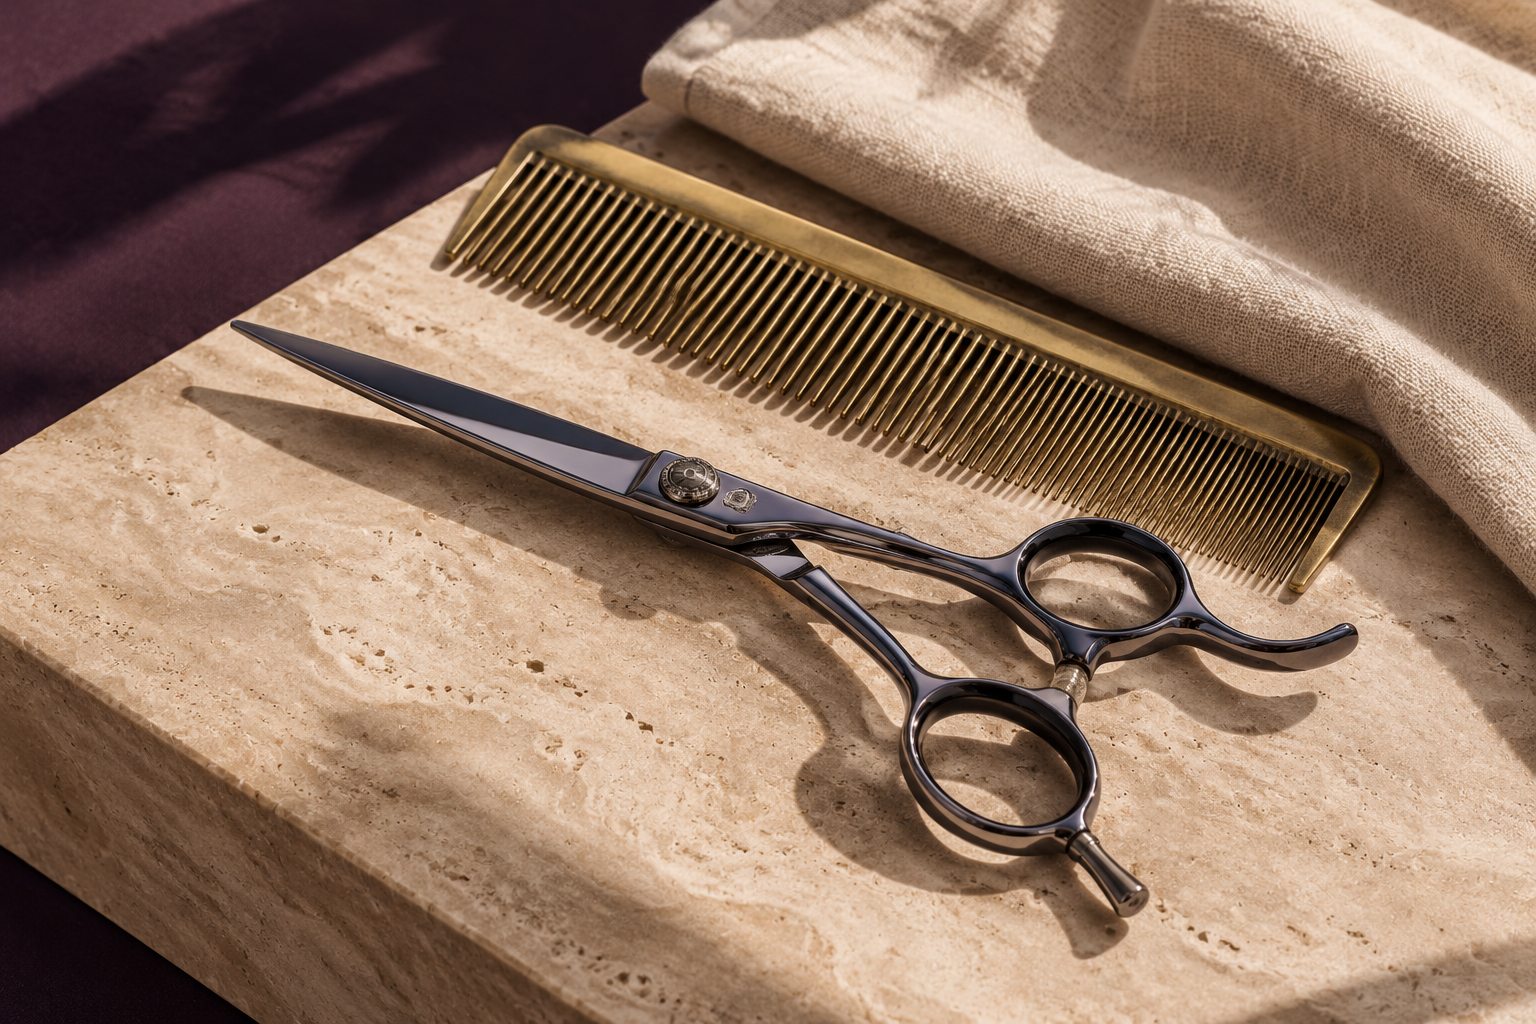
2. Internal Carve-and-Slice Architecture vs. Thinning Shears
Historically, heavy curl density at the ear-to-occipital weight line was treated with notched thinning or texturizing shears. Although texturizing shears rapidly reduce perimeter mass, they leave dozens of blunt, half-severed short stumps buried inside the curl bundle. As those stiff short fibers dry, they push outward against longer neighboring spirals, creating internal halo frizz and expanding silhouette width rather than collapsing it.
Internal Carve-and-Slice geometry, practiced extensively at the former Langhorne salon under Ouidad-certified training, approaches density removal along the axis of each natural curl ribbon rather than across it. After establishing the foundational perimeter length, the stylist isolates small vertical panels along the natural growth curve, places open convex shear blades cleanly inside the mid-shaft curvature, and executes a curved internal carve at the outer belly of the wave followed by a smooth tapering slide down toward the tip. Because each curl grouping retains continuous tapering ends that interlock like puzzle pieces, internal weight drops without generating short frizz stubs.
| Curl Pattern Class | Dry Shrinkage Factor | Recommended Cutting State | Elevation & Tension Rule | Primary Weight Strategy |
|---|---|---|---|---|
| Type 2A - 2C (Wavy) | 15% - 25% | Damp low-tension + dry detail refine | 45-90 deg light slip; zero over-direction at crown | Long internal slide-cutting; avoid heavy razoring on porous ends |
| Type 3A - 3B (Spiral Curl) | 30% - 45% | Wet ribbon-grouped or dry curl-by-curl | Zero comb stretch; guide follow natural spring arc | Carve-and-Slice internal channels; zero notched thinning shears |
| Type 3C - 4A (Tight Corkscrew) | 45% - 60% | Dry natural-state shape + hydrated check | Freehand sculptural elevation without finger clamp | Graduated silhouette stacking; blunt clean perimeter ends |
| Type 4B - 4C (Zigzag Coil) | 60% - 75% | Dry stretched or naturally coiled shape | Zero mechanical stretch during silhouette carving | Exterior geometric balancing; preserve dense moisture-retaining tips |
3. Convex Shear Bevels vs. Straight Razor Micro-Fraying
Blade metallurgy directly alters how the terminal cross-section of a hair fiber seals after a haircut. Traditional beveled German-style blades feature a 40-to-45-degree edge angle with micro-serrations designed to grip straight hair and prevent slipping. On coarse or high-porosity wavy shafts, however, micro-serrated edges compress and crush the cylindrical cuticle margin before shearing through the cortex, leaving a feathered rim susceptible to longitudinal split propagation (trichoptilosis).
Japanese convex-ground cobalt-steel shears (typically hardened to 59-61 HRC) maintain a razor-fine 25-to-32-degree edge without teeth. When closed cleanly with calibrated pivot tension, the opposing blades slice through keratin fibrils cleanly in a single plane, minimizing split-end initiation for weeks longer between trims. Straight feather razors occupy an intermediate niche: while a fresh single-edge razor held at a shallow 15-degree angle yields airy movement on healthy low-porosity Type 1 to 2A hair, dragging an angled razor across high-porosity bleached hair rips open cuticle scales along an oblique bevel up to 150 micrometers long, accelerating moisture loss and dullness.
4. Hydration Film Lock and Diffuse Thermal Ceiling
Structural curl architecture fails in daily wear if hydration escapes before hydrogen bonds set. In curly styling protocols such as the Rake-and-Shake method, polymer gel humectants and water-soluble lipids are combed through soaking-wet ribbons immediately after cleansing so water coats every cuticle overlap before air or low-velocity diffusion sets the cast. Touching or separating damp curl ribbons prior to 95 percent dryness fractures the thin polymer film and triggers immediate halo frizz.
Keep diffuser nozzle temperatures below 75 C and air velocity low so water exits uniformly through gentle convection without lifting cuticle margins. Equally important is comb-tooth geometry during wet detangling: wide-spaced polished brass or seamless cellulose-acetate teeth distribute conditioner slip without snagging lifted cuticle edges at the crown or nape. Once the curl cast is completely dry, breaking the light gel film with two drops of low-viscosity camellia lipid restores natural bounce while locking ambient humidity out of the cortex.
For clients transitioning from chronic heat straightening or chemical relaxing back to natural helical patterns, plan progressive perimeter trims every 10 to 12 weeks rather than aggressive single-visit thinning, allowing healthier ortho-cortical curl memory to settle naturally. For bleached or copper-toned curls, combine structural cutting discipline with the low-swelling formulations documented in Cuticle Porosity Chemistry and the Developer Formulator.
Legacy Path Preservation: /styling-tips.html (Studio Styling Notes Archive)
LEGACY PATH: /styling-tips.html
Preserves historical continuity for the original Attitudes Hair Studio Styling Tips page captured in September 2016 Wayback indexes, consolidating curl hydration, blade selection, and thermal control guidance into structured haircutting geometry.
Legacy Path Preservation: /gallery.html (Salon Lookbook Gallery Archive)
LEGACY PATH: /gallery.html
Preserves historical continuity for the original Attitudes Hair Studio lookbook gallery page (2016 snapshot), re-architected into editorial studio plates and quantitative haircutting specifications.